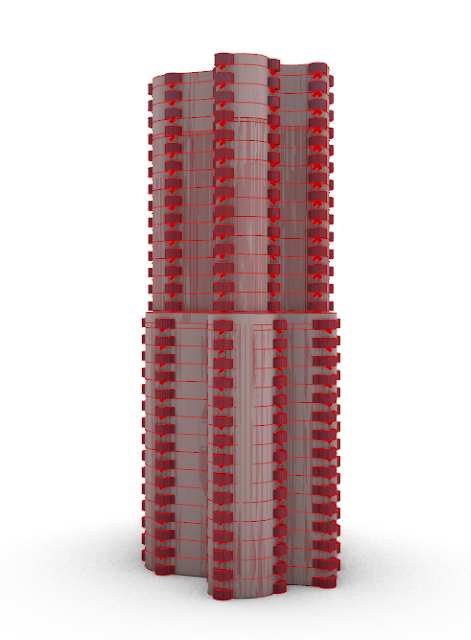
I actually started this assignment thinking I was going to make a funky lamp. Turns out the base of a lamp can easily turn out to be a skyscraper with a combination of the contour tool and the divide tool.
I began this assignment by drawing a curve in Rhino. Then in Grasshopper I started extruding the curve, offsetting it, and extruding the offset.
The above image shows the process I used to make the bottom part of the skyscraper, then I repeated this process for the top portion. After extruding and caping the shape, I used the contour tool to add "floors" to the building. I then divided each of the contours and added circles to the newly divided points, making the balconies.
After the building was finished I used the custom preview tool and added colour to the object. I also used the material tool to add shine to the building.
The last thing to do was use the remap tool to make sure everything I wanted to move, moved in the animation. I ran into some glitches in this process: I wasn't able to smoothly change the number of contours. When I did the balconies were no longer uniform, they all started changing length. Other than this everything went quite smoothly.
One other thing I wasn't able to do want get the entire structure to rotate. The base curve would rotate, but it wouldn't rotate around the center of the curve, and it did not move the whole structure. I think I understood the rotation for simple objects, but since this curve was more complex I couldn't get it to work properly.
Overall this was a great assignment because it was really fun to play with the new tools in Grasshopper and see how far I could take them.


Comments
Post a Comment